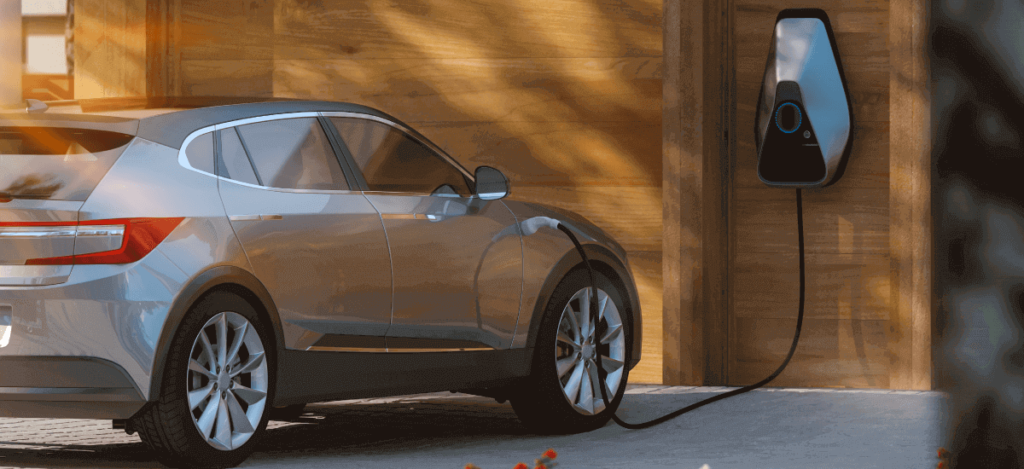
Electric vehicles (EVs) are no longer just a trend-they’re the future of transportation. As more people make the switch to EVs, the convenience of charging at home becomes not just a luxury but a necessity. Installing an EV charger in your home is a game-changer, offering cost savings, convenience, and environmental benefits. But powering up at home requires more than just plugging into a wall outlet-it involves thoughtful planning, electrical upgrades, and professional installation by Kemp Co Electric to ensure safety and efficiency.
In this blog, we’ll explore everything homeowners need to know about EV charger installations, from choosing the right charger to understanding the installation process and long-term benefits.

Why Install an EV Charger at Home?
1. Convenience
Having an EV charger at home means you can plug in overnight and wake up to a fully charged vehicle, eliminating the need for frequent trips to public charging stations.
2. Cost Savings
Home charging is generally more affordable than public charging. With time-of-use electricity rates, you can charge during off-peak hours to save even more.
3. Increased Home Value
Homes with EV charging capabilities are becoming more attractive to buyers, especially in areas with a growing EV population.
4. Environmental Impact
Charging at home allows for the integration of renewable energy sources, such as solar panels, making your EV use even more eco-friendly.
Types of EV Chargers: Know Your Options
There are different levels of EV chargers, each with varying installation requirements and charging speeds:
Level 1 Charger
- Power Source: Standard 120V outlet.
- Charging Speed: 4-5 miles of range per hour.
- Installation: No special installation; slow charging, best for hybrid vehicles.
Level 2 Charger
- Power Source: 240V outlet.
- Charging Speed: 25-30 miles of range per hour.
- Installation: Requires professional installation; ideal for daily EV use.
Level 2 chargers are the most common choice for home installations due to their balance of speed and efficiency.
Planning for Installation: What You Need to Know
1. Assess Your Electrical Capacity
Before installation, evaluate your home’s existing electrical system. Older homes may need panel upgrades or dedicated circuits to handle the additional load.
2. Choose the Right Location
Most homeowners install chargers in garages or driveways. Consider proximity to the electrical panel and the length of the charging cable. Weatherproof options are available for outdoor setups.
3. Select the Right Charger
Look for chargers that are:
- Compatible with your vehicle.
- Certified (e.g., UL-listed).
- Equipped with smart features like scheduling, energy monitoring, and Wi-Fi connectivity.
4. Obtain Permits
Most jurisdictions require permits for EV charger installations. Check with local authorities to ensure compliance with building and electrical codes.
Installation Process: Step-by-Step
1. Hire a Licensed Electrician
A qualified electrician ensures the installation is safe and code-compliant. They’ll assess your electrical panel, suggest upgrades if necessary, and handle all wiring and connections.
2. Upgrade the Electrical Panel (If Needed)
If your panel lacks capacity, an upgrade (e.g., from 100 to 200 amps) may be necessary. This allows your home to handle the charger’s load without overloading circuits.
3. Install a Dedicated Circuit
A dedicated 240V circuit ensures your charger operates independently, minimizing risk of overload and ensuring consistent performance.
4. Mount the Charger and Connect
The charger is mounted on a wall or pedestal. Wiring is routed through conduit, and weatherproof enclosures are used for outdoor installations.
5. Final Inspection and Testing
Once installed, a final inspection ensures compliance with local codes. The electrician will test the charger to confirm proper operation.
Smart Charging: Control and Efficiency
Many EV chargers come with smart features that offer convenience and savings:
- Scheduling: Charge during off-peak hours for lower rates.
- Energy Monitoring: Track usage and costs.
- Remote Control: Start or stop charging from your smartphone.
- Integration: Some chargers integrate with solar panels or home energy management systems.

Real-Life Experience: The Benefits in Action
Scenario 1: Time-of-Use Savings
A homeowner with a smart charger schedules charging between 10 p.m. and 6 a.m., when electricity rates are lowest. Result: noticeable reduction in monthly energy bills.
Scenario 2: Panel Upgrade Success
An older home upgraded its electrical panel to accommodate a Level 2 charger. Not only did this allow for efficient EV charging, but it also prepared the home for future additions like air conditioning or home automation.
Maintenance and Safety Tips
- Regular Inspection: Check cables and connections for wear.
- Cleanliness: Keep the charger free from dust and moisture.
- Software Updates: Ensure your charger’s firmware is up to date for optimal performance.
- Professional Support: Contact a professional for any malfunctions or issues.
Regulations and Incentives
Many regions offer rebates or incentives for EV charger installations. Check with:
- Local Utility Providers: Often provide rebates for equipment and installation.
- Government Programs: Some federal and provincial/state programs offer tax credits or grants.
- Building Codes: Ensure compliance with national and local codes, including grounding and GFCI requirements.
Conclusion: Charge Ahead with Confidence
Installing an EV charger at home empowers you to embrace the electric future with ease and confidence. With the right planning, professional installation by Kemp Co Electric, and ongoing care, your home charging setup can be a seamless extension of your lifestyle-delivering convenience, cost savings, and environmental benefits every time you plug in. Power up at home, and drive forward with the assurance that your EV is always ready to go.

